There are many techniques that you may use in you paper crafting projects.
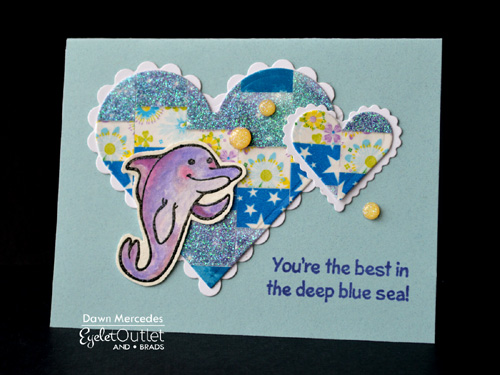
One is called Bargello. Traditionally, you cut patterned papers in to strips. Adhere the strips to a piece of paper. Turn the paper 180 degrees, and then cut more strips. These new strips, cut against the grain of the original strips, are adhered to paper again, but in a slightly different position.
Here I used washi tape, instead of the traditional strips. It makes the first step cleaner and easier!
If you know Eyelet Outlet, you know we have a great selection of washi tape.
What other techniques do you use in your paper crafting?
Supplies:
Hope you are safe and warm in this winter weather!